Long time no see! And I'm back with new forces, this time beauty-related! For those of you that don't know, I'm a great fan of gel nails and I've been sporting them for the past year. Sadly enough, as I now live in the UK, gel nails are quite on the expensive side so I've resorted to doing my own gel nails.
Recently, I've decided to take a break from the wraps and let my nails take a breath of fresh air for a change until I get back home and have Nico get my manicure looking as amazing as she always does. But when I finally removed the gel, my nails were amazingly brittle, paper thin and quite exfoliated.
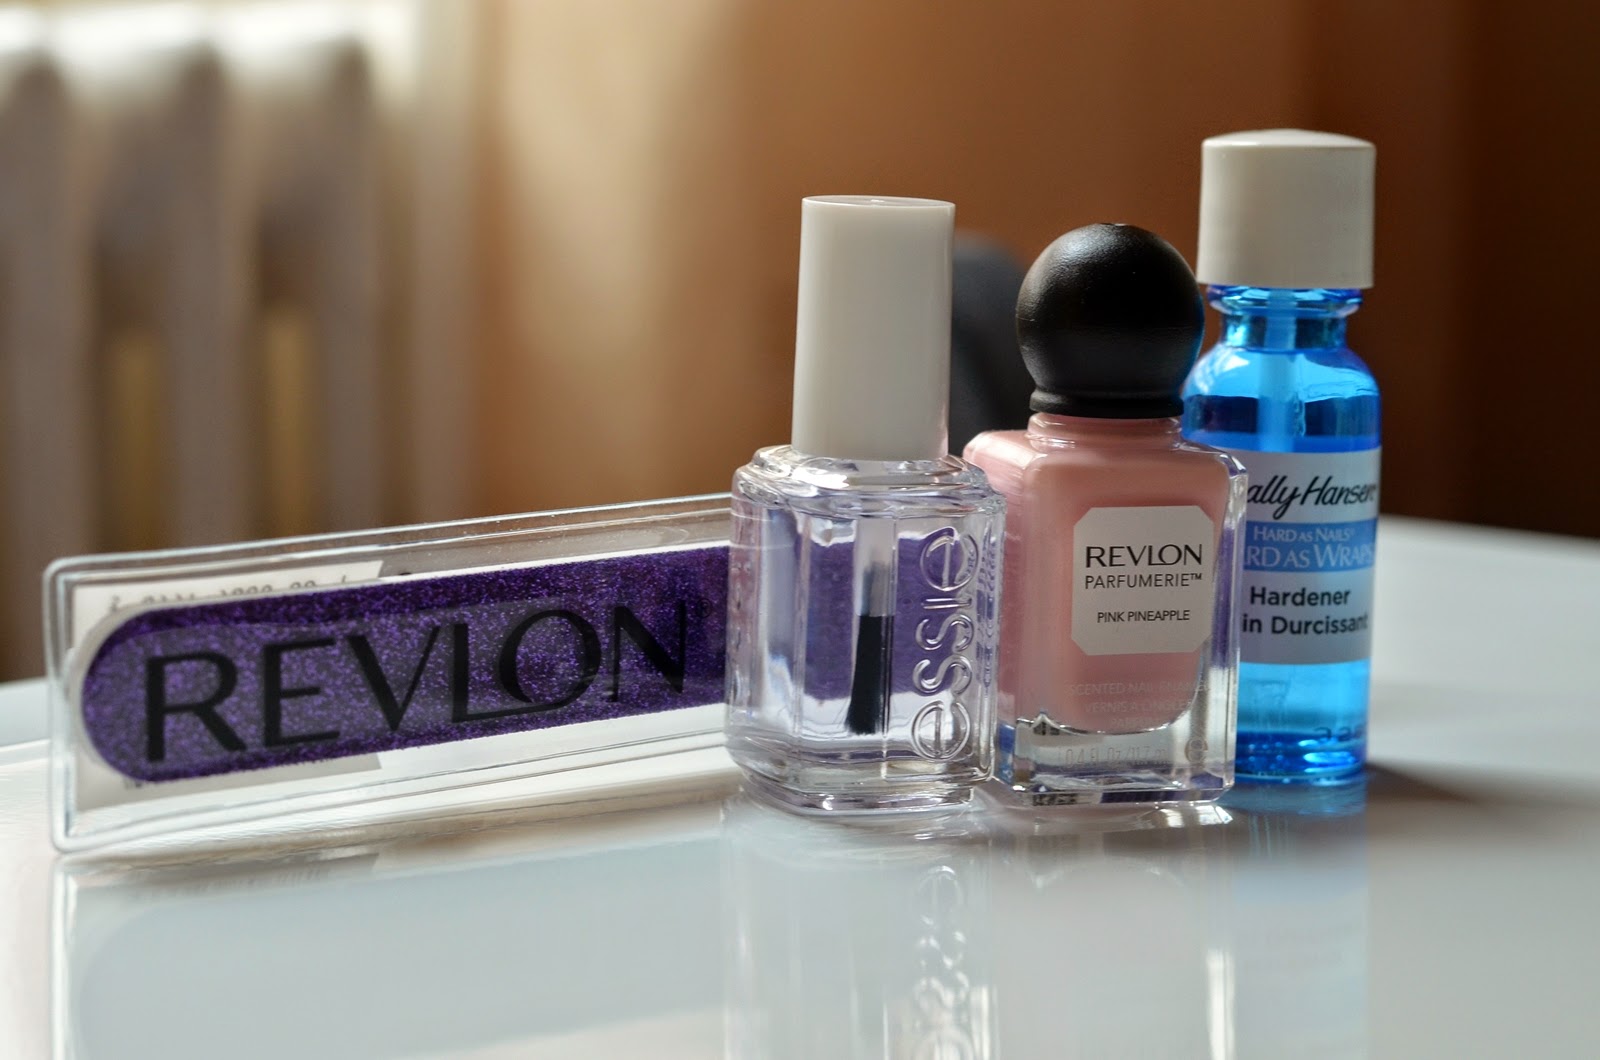
So my first initiative was to raid Boots and find some hardening solutions. The products I found and used in this article are the following:
* Sally Hansen Hard as Wraps
* Essie Super Duper Hardening Top Coat
* Revlon Nail File (similar here)
* Cutex Nourishing Nail Polish Remover ( though not in the picture)
* Revlon Parfumerie Nail Polish in Pink Pineapple
As you can see, my nails look awful in the pictures bellow, as a result of incorrect filling on my side. I removed the gel in 2 stages (more or less willing): I removed my tips and all gel residue by filling then I just made a gel overlay that lasted for a week. I didn't really use too much bonding agent for this gel overlay, that the wraps just came off in a week, so I didn't have to file the nails once more.
Now moving on to the steps I took with my brand new paper-thin nails!
1. Tiding it up the nails
Besides making sure there's no remaining gel residue on the nail, you should give them a superficial wipe with some nail polish remover, just to me sure you remove any kind of remaining natural grease. For this, I used the Cutix nail polish remover, as it is nourishing and specially developed for such damaged nails.
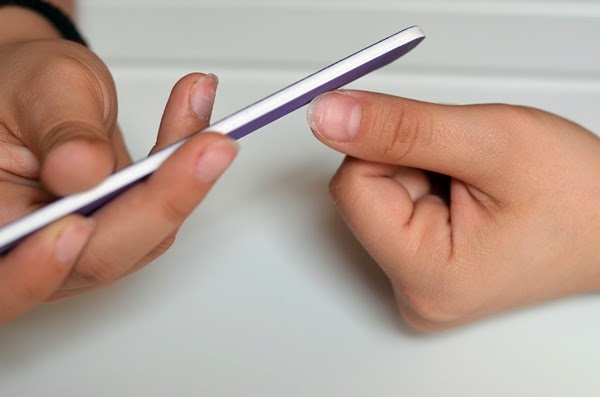
2.Filing
One of the main reasons I wanted to remove my tips and everything was the fact that the shape of my nails was going haywire on me and I really hated the leaning-tower-of-Pisa nails I'd ended up having. However, when the gel fell off, my nails chipped and I had irregular forms. Still, there's really no need for justification in filling your nails prior to taking care of them. The 2 things you should remember? Use a good quality file and only file in 1 direction.
3.Base coat
Paper-thin nails was the reason for getting gel wraps in the first place, together with a never ending cycle of doing my manicure every 2 days because the polish chipped. So getting back to that and trying to fix the health state of my nails was a huge challenge. I spent hours on end on Youtube trying to figure out what treatments to get until I discovered this Sally Hansen base coat. This promises covering the nails in a layer as hard as acrylic, thus protecting them until they grow back to their healthy state.
So far, so good, I've used this 2 times up to writing this article and it's actually done a much better job than expected. I'll review all the items here as soon as I get a better vibe of what they do.
4.Color me pretty
While searching for hardening base coats, I came over a 3 for 2 promotion running in the drugstore, so I took advantage of it an purchased a Revlon perfumed nail polish. I've never really liked how pastels react on my fingers, they never really get that color block look, but I gave this Pink Pineapple scented nail polish a try and I've yet to be disappointed!
5. Seal it in
In the same theme as the rest of the products, the Essie top coat is indeed Super Duper. This one's hardening as well, and it gives the nails a good seal, making the manicure lasting a little bit longer and have a better luster.
All in all, I'm carefully nurturing my nails back to health with both drugstore products and natural ones. I'll post soon about my love for coconut oil and the close relationship it has with my beauty regimen!


WOnderful color! Great
ReplyDeletewww.welovefashion.it